RAM Claw Yoke Mount (RAP-B-400U)
Placeholder
$39.95
In stock
Backordered
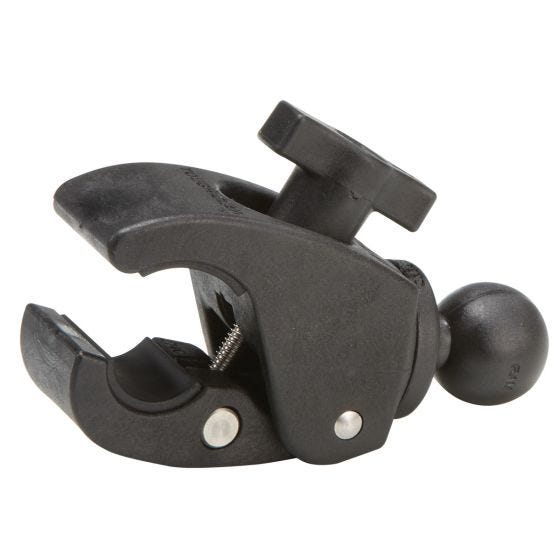
The best way to mount anything to an airplane yoke.
The Claw base fits yokes and exposed tube shafts measuring 0.625” to 1.5” in diameter. It's ideal for mounting to most Cessna, Piper and Mooney yokes. Easy to install - just twist until tight. Includes rubber coating on inside to prevent slipping and scratches. RAM part number RAP-B-400U. For larger yokes (including Beechcraft), order product 7575A.
These are simply the finest mounting systems available. Every RAM Mount carries a Lifetime Warranty.
Includes: Yoke Mount with Ball


